
The world of NFTs is full of possibilities, even when it comes to minting options. Mintable offers a number of options for minting your NFTs, the most common and popular option being gasless minting, something we’ve written about before:
Mintable is getting rid of gas fees: https://editorial.mintable.com/2021/01/21/gas-fees-suck-mint-nfts-without-a-transaction-on-mintable/
For those who have read our article on how to mint a gasless NFT, this article is to take you through the more advanced minting options on our platform.
To recap, gasless minting is a feature on Mintable that allows you to make your item on the blockchain without needing to pay a transaction – it is a simple and easy way to mint an item.
For Mintable’s advanced options, we also offer traditional minting, a printable series, and batch minting.
In this article, we’ll take you through how to mint with the advanced minting options:
Step 1: Create an item
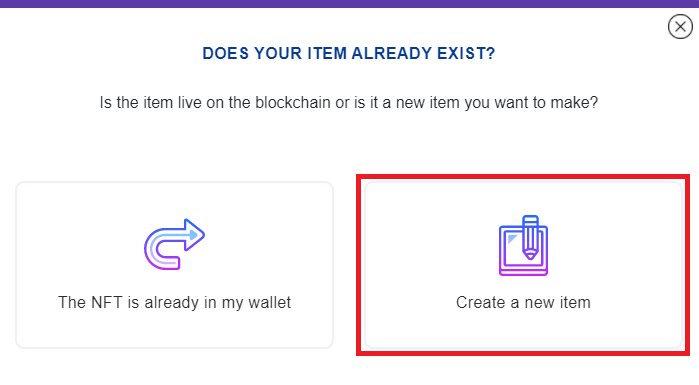
In the top navigation, click on “Mint an Item”, and choose “Create a New Item”
You will then see this:
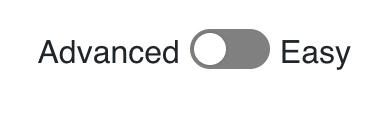
The “easy” mode is automatically set to help you create a gasless NFT. Toggle to the advance mode to access the traditional minting option:

Step 2: Pick how you want to mint
Under traditional minting, there are a number of options available for you:
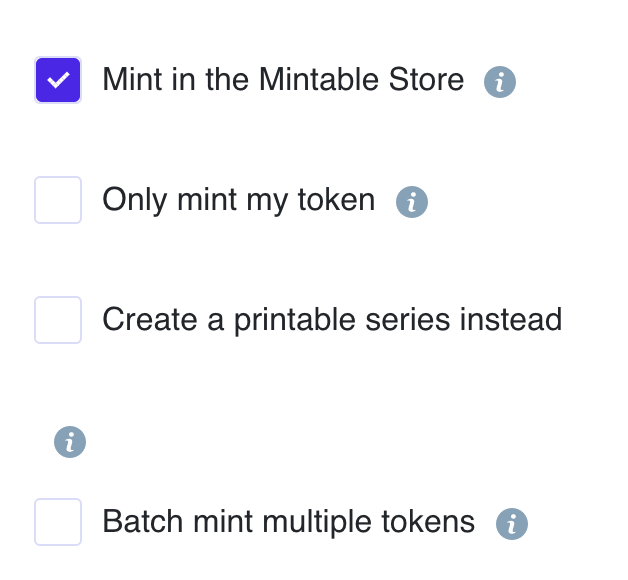
Store
You can choose between minting your item at your own store or the Mintable store. (For this guide, I have picked the Mintable store as I am a user without my own store yet).
Mint one token
By checking this box, you’re confirming that you are minting just one token of this item.
Create a printable series
A printable series token is a token that only exists when purchased, you can make a number of tokens for sale without paying a high price.
Batch mint multiple tokens
Batch minting allows you to create and list many tokens in one single transaction.
Step 3: Fill in your item details
Once you’ve chosen an option for minting, the next step would be to fill out your item details.
Here are the details you will need to add to each item:
Store
This is the store you will create these items under. When minting gasless, the store is set to the Mintable Gasless store.
Category
The category of item you are making. If it’s art, it would be under “artwork”. If it’s a music file, it would be under “music”, and so on.
Token name
This is the name of your NFT that will be stored on the blockchain.
Title
The name of the listing that will be seen by users when browsing items can be the same as your token name, or something different as well.
Subtitle
The subtitle of your listing. Here you can write a catchy tagline that describes your NFT a little more than the title does, but try to keep it as short as possible.
Tags
Tags to help people find your items by searching. Tags should be words that describe, or are closely related to the style, medium, colours, content, and theme of your artwork.
Price and type
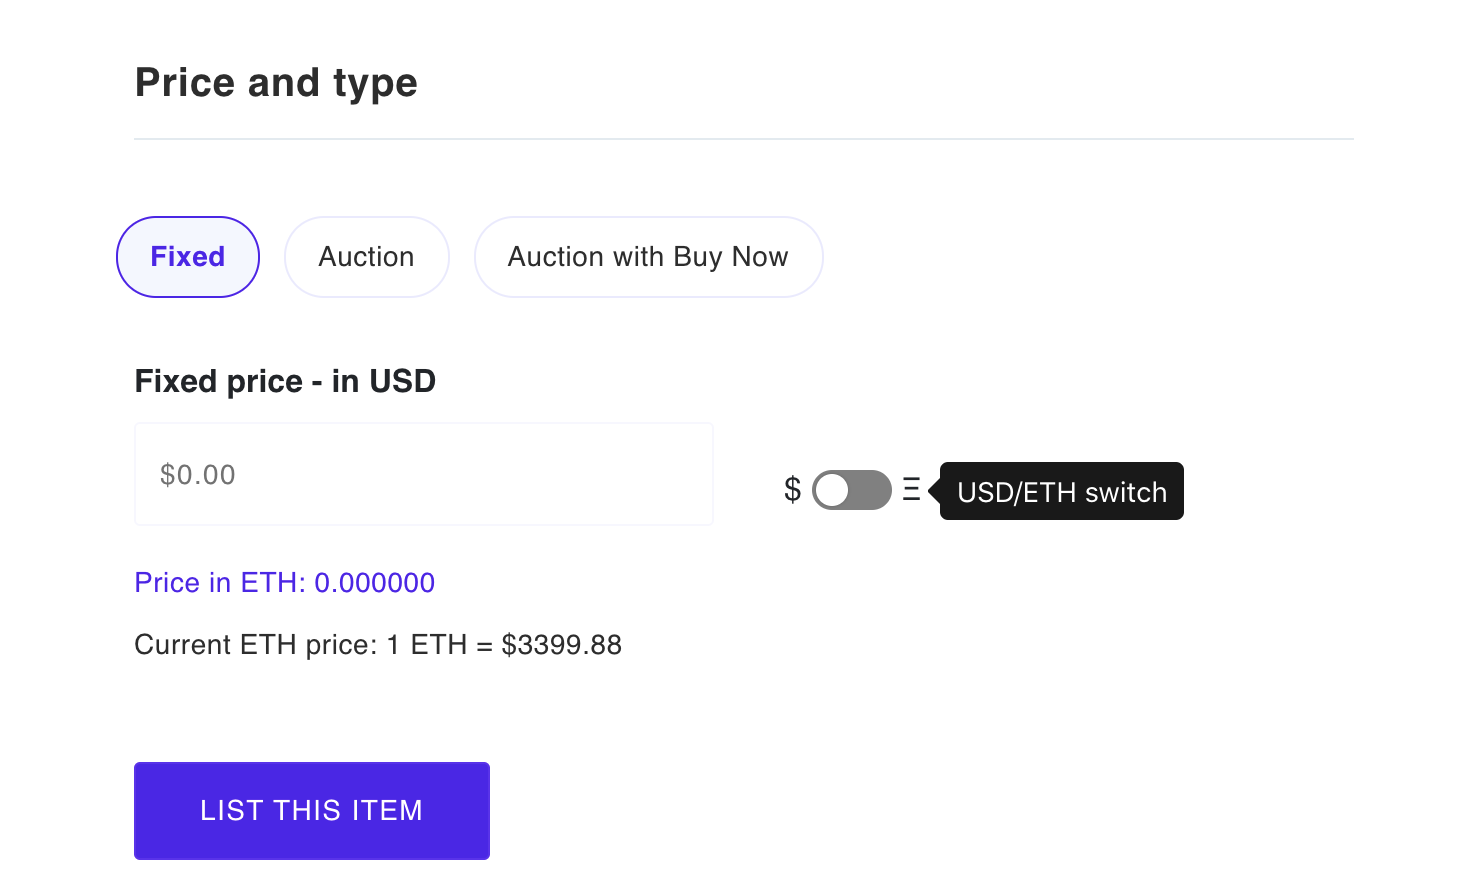
The price is in USD to sell your item for. It shows the ETH conversion as well. You can choose between a fixed price, an auction price with a starting bid, or one with a choice of both for your buyers.
Preview images / NFT image
This is the image that will be stored on the blockchain and seen as the default image. The first image you upload cannot be changed afterwards, so choose wisely. All other images are displayed on the item page.
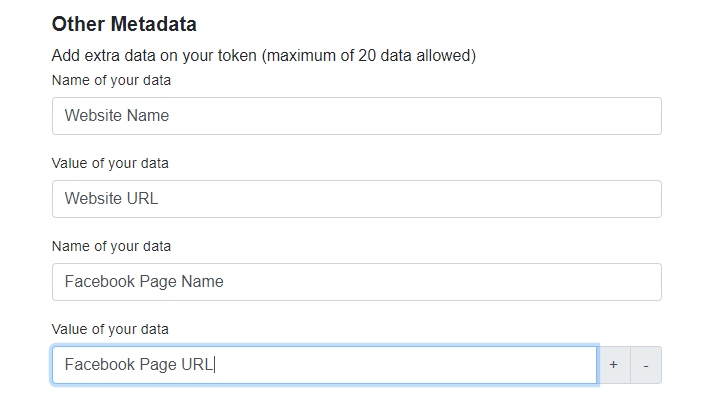
Optional metadata
This is extra metadata that will be on the token. The image below shows an example of how you can add a URL to your website or Facebook page into your token’s metadata.
Copyright
Transfer the copyright to the buyer of this token. It will be stored on the blockchain and can be referenced via the explorer at any point in the future. If you choose to transfer copyrights, you can add the terms of use in the item description.
Resellable
Allow others to resell this item. If not selected, buyers will not be able to sell this NFT on Mintable again. If you want to take advantage of resale royalties, you need to allow reselling. This will also make your NFT more attractive to collectors who buy NFTs to re-sell at a higher price.
Mint only
Mint your token on the blockchain and don’t list it for sale. You might want to do this if you have a specific release date in mind, or if you are minting personal items.
Downloadable File
As a content creator, you can add downloadable content to your collectibles that only become visible after a transfer of ownership (i.e. selling or gifting your NFT). Artists use this feature to include high res files, wallpapers, secret messages etc. Having additional content is a great way to make your NFT more attractive to buyers as it adds additional value.
Once you have filled out all the item details, submit the form.
Step 4: List your item
You will have two actions to list:
- Creating your item on the blockchain
- Signing a message to list your item for sale
Step 4: Start selling
Congratulations! Now you know how to use Mintable’s advanced minting options.
If you are still having issues, head over to our discord for help.
For more information on how to use the Mintable.app marketplace, check out our official guides here.